Defect Life Cycle

In the world of software development and testing, ensuring the highest quality of the product is essential. One of the key processes in achieving this goal is managing and resolving defects (or bugs). The Defect Life Cycle, also known as the Bug Life Cycle, is a structured approach that helps teams track, monitor, and resolve defects in a systematic manner. By understanding this cycle, testers can improve the overall efficiency and effectiveness of the software development process.
What is the Defect Life Cycle ?
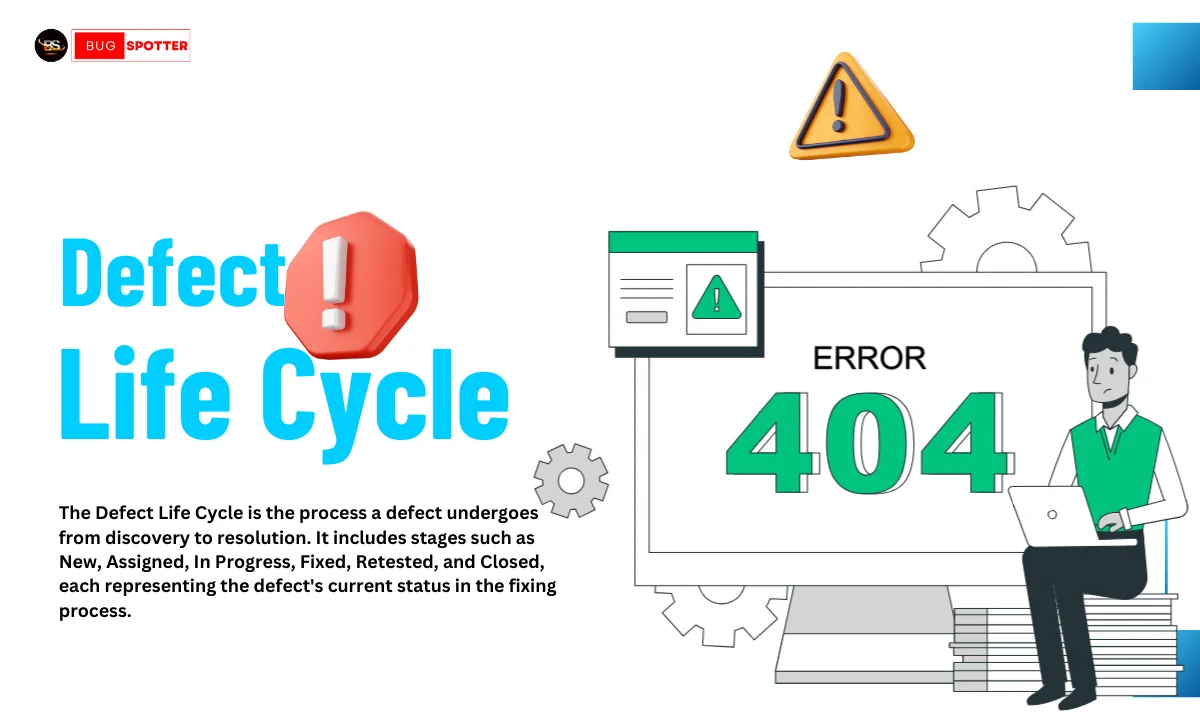
The Defect Life Cycle is the series of stages that a defect goes through from the moment it is discovered until it is fixed, tested, and closed. These stages ensure that the defects are identified, analyzed, corrected, and verified in a timely and organized manner. A well-managed defect life cycle improves product quality, reduces rework, and ensures a smoother delivery process.
The defect life cycle typically involves several stages and transitions, which may vary slightly depending on the project and the team’s processes. However, the essential goal of defect management remains the same: to ensure a clean, functional, and high-quality product.
Stages of the Defect Life Cycle
1. New/Defect Logged
The defect life cycle begins when a tester identifies an issue in the software. Once the issue is detected, it is logged into a defect tracking tool, such as Jira or Bugzilla. This stage is called the “New” stage, where the defect is categorized with details such as severity, description, and steps to reproduce. At this point, the defect has not been investigated or addressed yet.
- Details captured: Defect ID, severity, description, environment, screenshots, reproduction steps, etc.
- Priority and severity: These are set to indicate the defect’s impact and how urgent the fix should be.
2. Assigned to Developer
Once the defect is logged, the next step is assigning it to a developer for further investigation. The development team analyzes the defect to determine its cause, whether it’s due to coding errors, design flaws, or other issues. At this stage, developers prioritize and allocate resources to fix the issue.
- Defect assessment: The developer assesses the defect’s root cause.
- Priority setting: The priority and severity of the defect are reassessed if necessary to align with project timelines and resources.
3. Open/Under Investigation
At this stage, the defect is marked as “Open” or “Under Investigation.” The developer starts working on fixing the issue. This phase may involve debugging the code, consulting with other team members, and evaluating the complexity of the issue. If it’s a critical issue, this phase could be expedited.
- Root cause analysis: Developers dive into debugging and identifying the core issue.
- Impact analysis: The team evaluates if the fix will affect other parts of the system.
4. Fixed
Once the developer resolves the issue, the defect moves to the “Fixed” stage. The developer implements the necessary changes and updates the code to address the defect. The issue is considered resolved, but it is not yet considered complete.
- Code changes: Developers modify the code, data, or configuration based on the defect’s root cause.
- Unit testing: Developers test the changes to ensure that the fix works as expected before passing it back to the testing team.
5. Retest
After the defect is fixed, it is sent back to the testing team for retesting. The tester verifies whether the defect has been fixed and if the solution does not introduce new issues into the software. This stage may lead to one of two outcomes:
If the fix is successful, the defect is closed.
If the defect still exists, it is sent back to the developer for further investigation, and the process repeats.
Regression testing: Testers often perform regression testing to ensure that the fix doesn’t break other features.
Verification: The defect is verified across different environments to check for consistency.
6. Closed
If the defect has been successfully fixed and retested without any further issues, it is marked as Closed. This indicates that the defect is no longer an issue and that the necessary actions have been taken to resolve it. The defect is now considered to be permanently addressed.
- Final verification: The defect is closed after successful verification by the testing team.
- Documentation: The issue is documented for future reference, often in terms of lessons learned and root cause analysis.
7. Reopened
If during any phase of the life cycle, the defect reappears (for example, after a fix was applied but the issue reoccurs), it may be reopened. This stage requires the defect to be reviewed again, and the process repeats from the “Open” or “Under Investigation” phase until a final resolution is achieved.
- Verification failure: If the issue reoccurs after fixing, it’s reopened.
- Root cause reassessment: The developers may reassess the cause and determine if the fix was truly the right solution.
8. Deferred
In some cases, a defect might be deferred if it is not critical for the current release but may need attention in future versions. This happens when the defect is not prioritized, either due to its low impact or because the team decides that it’s not urgent enough to fix immediately.
- Low impact: The issue may not affect the functionality or experience significantly enough to delay the release.
- Future releases: The defect is marked for attention in a later version or release cycle.
9. Rejected
Sometimes, a defect is rejected. This typically happens if the reported defect is found to be incorrect, based on misunderstanding or a misconfiguration. The testing team may realize that the issue does not actually exist, or that it’s not a valid bug, and will mark it as “rejected” and close the report.
- False report: The issue may be invalid or caused by user error rather than a software defect.
- No action needed: There is no real defect to address.
Extended Stages and Variations in the Defect Life Cycle
In addition to the primary stages mentioned above, some defect life cycles may include additional nuances based on specific project requirements or workflows.
Priority Adjustment
Throughout the defect life cycle, the priority of defects may change as new information is discovered. For instance:
- High-priority defects could be resolved immediately if they impact critical functionality or customer experience.
- Low-priority defects might be deferred or addressed in future sprints or releases.
Escalation
In cases where defects are critical and cannot be fixed in time, they may be escalated to higher-level management or specialized teams for quicker resolution. This ensures that project deadlines or release schedules are met despite critical issues.
Defect Density and Reporting
As defects are reported and resolved, the testing team often tracks defect density, or the number of defects per module or feature. This helps identify problematic areas of the software and guide future testing efforts.
- Defect trend analysis: Analyzing defects over time helps identify recurring issues and patterns.
- Risk mitigation: Defect data can inform risk management strategies, ensuring that high-risk areas of the software are thoroughly tested.
Importance of the Defect Life Cycle
Understanding and adhering to the defect life cycle is crucial for several reasons:
- Efficient defect management: The defect life cycle ensures that issues are tracked, resolved, and closed systematically, ensuring no defect is overlooked.
- Clear communication: It enables better communication between the testing, development, and project management teams, ensuring that everyone is aware of the status and priority of defects.
- Improved product quality: A well-managed defect cycle helps in faster issue resolution, reducing the number of defects in the final product and improving quality.
- Documentation and traceability: By tracking each defect through its life cycle, teams have a clear record of actions taken, making it easier to review and improve the process for future releases.
- Continuous improvement: Data from defects can be used to improve testing and development processes, fostering a culture of continuous improvement.
Latest Posts
- All Posts
- Software Testing
- Uncategorized


Categories
- Artificial Intelligence (5)
- Best IT Training Institute Pune (9)
- Cloud (2)
- Data Analyst (55)
- Data Analyst Pro (15)
- data engineer (18)
- Data Science (104)
- Data Science Pro (20)
- Data Science Questions (6)
- Digital Marketing (4)
- Full Stack Development (7)
- Hiring News (41)
- HR (3)
- Jobs (3)
- News (1)
- Placements (2)
- SAM (4)
- Software Testing (70)
- Software Testing Pro (8)
- Uncategorized (33)
- Update (33)
Tags
- Artificial Intelligence (5)
- Best IT Training Institute Pune (9)
- Cloud (2)
- Data Analyst (55)
- Data Analyst Pro (15)
- data engineer (18)
- Data Science (104)
- Data Science Pro (20)
- Data Science Questions (6)
- Digital Marketing (4)
- Full Stack Development (7)
- Hiring News (41)
- HR (3)
- Jobs (3)
- News (1)
- Placements (2)
- SAM (4)
- Software Testing (70)
- Software Testing Pro (8)
- Uncategorized (33)
- Update (33)


